This post covers the process of replacing a self-signed SSL certificate running on a vRealize Suite Lifecycle Manager (vRSLCM) 8.1 appliance. I’ll be using the UI to show you how to do it.
Pre-requisites
- Make sure you have a defined a certificate template as per https://kb.vmware.com/s/article/2112009
- Confirm your user account has the correct privileges to request certificates using Microsoft CA Web Server enrollment. At the least, find someone that can submit and approve it for you.
Generate the Certificate Signing Request (CSR)
- Log into your vRealize Suite Lifecycle instance using the admin account (admin@local).
- Click the Locker tile
- On the Certificate page, click the Generate CSR button.
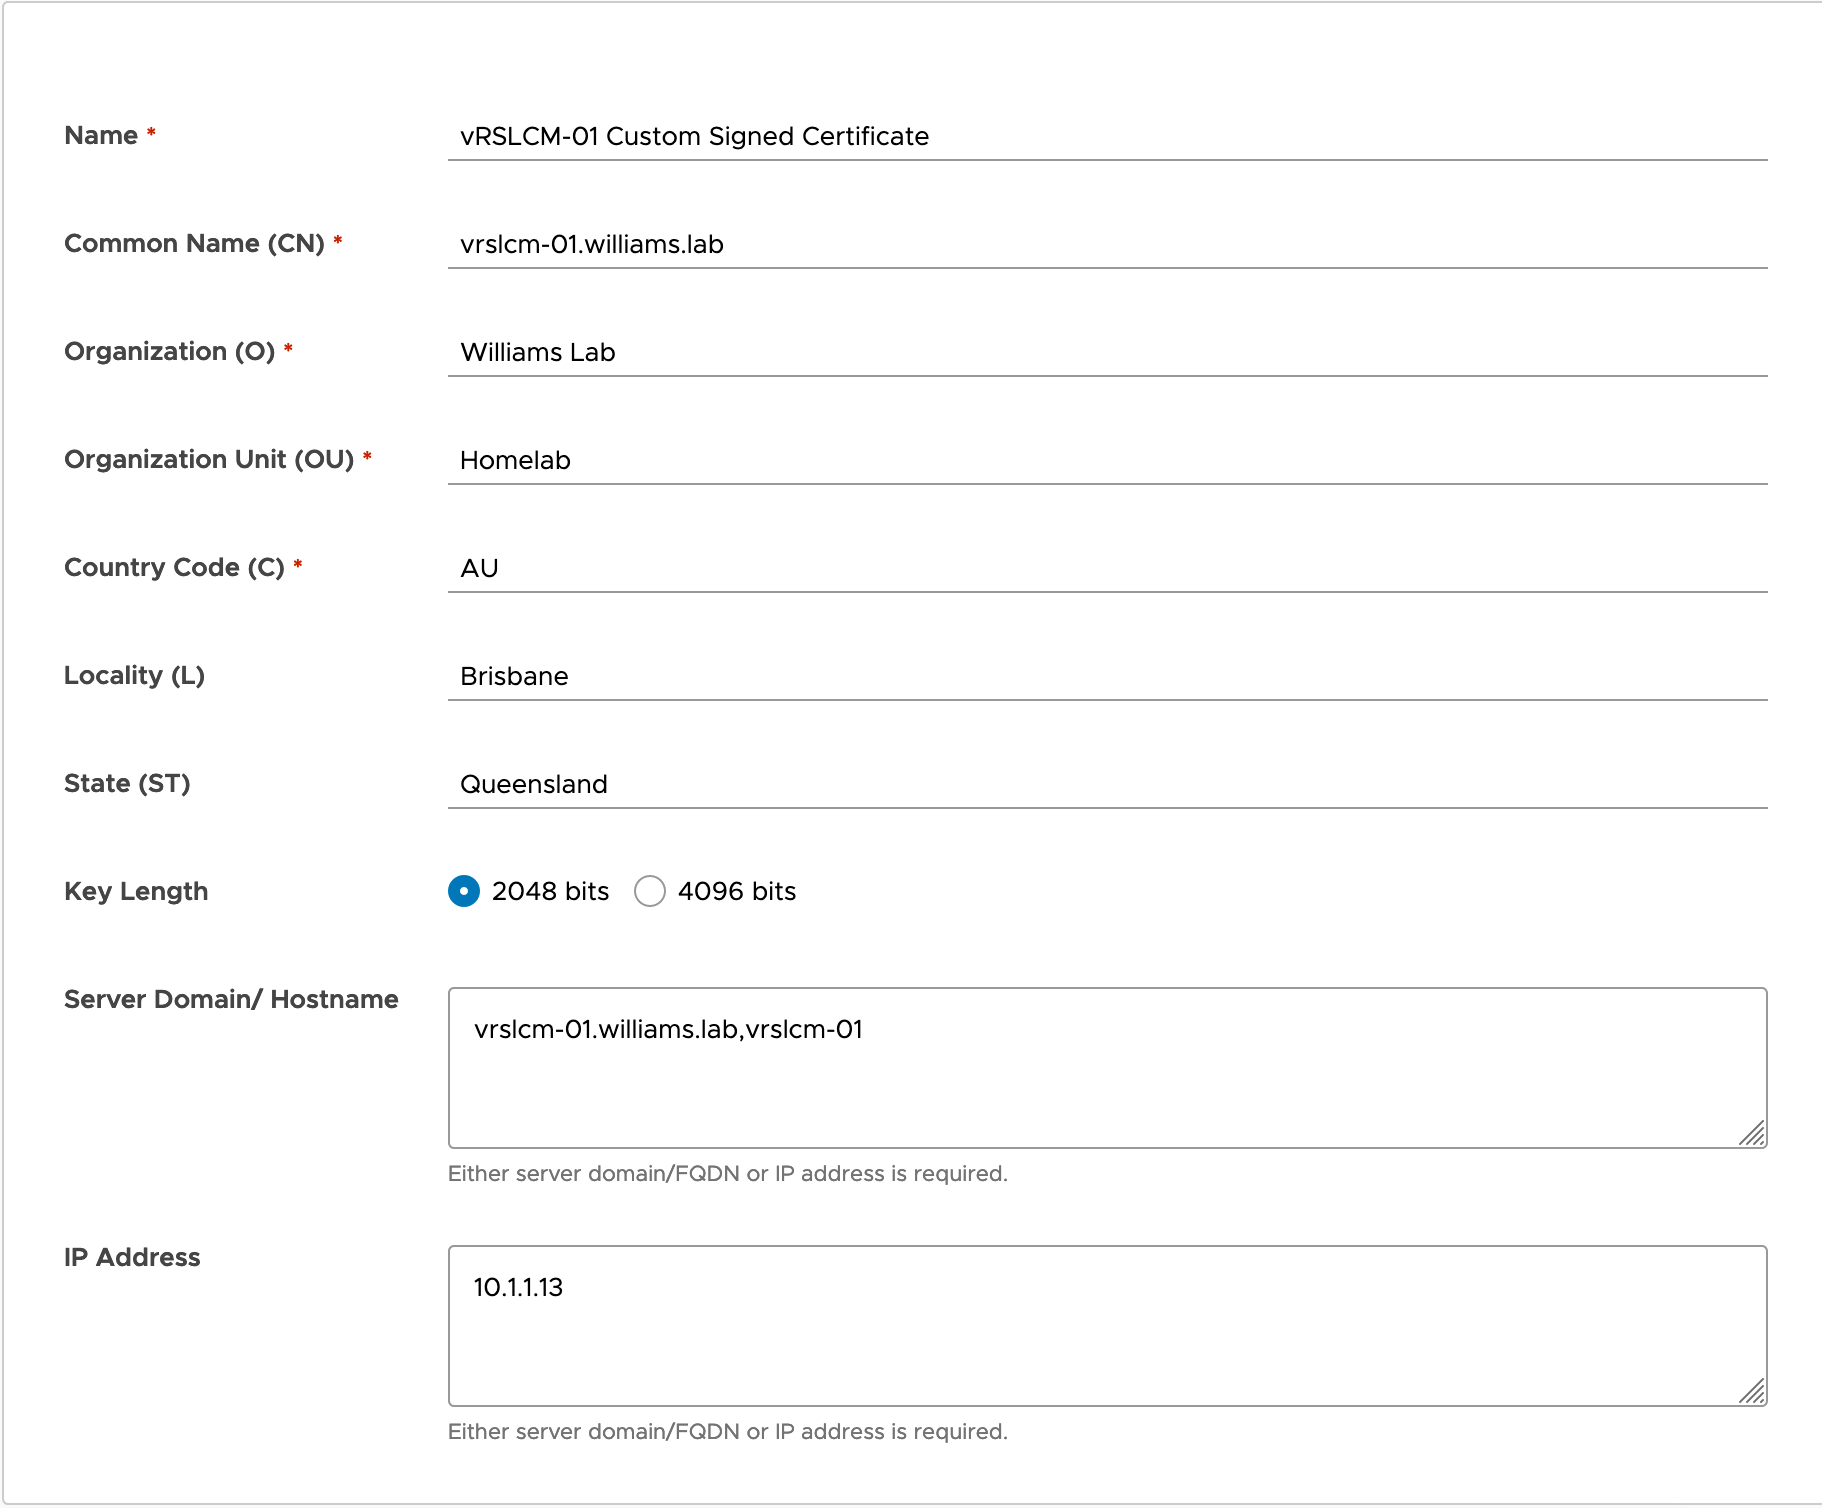
- Enter the details for your certificate. These fields are not unique to vRSLCM:
- Name - This is the friendly name of the certificate. The Name is not used in the certificate itself.
- Common Name - SSL requires the Common Name to match the web address (see here and here).
- Organization - The name of your organisation.
- Organization Unit - The name of the unit within your organisation. I like to use OU’s that reflect the team/group/silo that is responsible for the certificate.
- Country Code - The 2-letter code for your country.
- Locality - The city the service is operating.
- State - The state the service is operating.
- Key Length - Stick to 2048 unless your organisation requires a greater key length.
- Server Domain/Hostname - Enter the FQDN, Hostname, and any CNAME records you’re using for this service.
- IP Address - Enter the IP address of the service.
- Click the Generate button.
Your browser downloads the CSR in PEM format. Store this file carefully, as it contains the CSR and the private key.
Submit the certificate request to your CA
Now that we have the PEM file, we can submit the CSR to the Microsoft Certificate Authority. This process is identical to every other time you’ve done this for vSphere components.
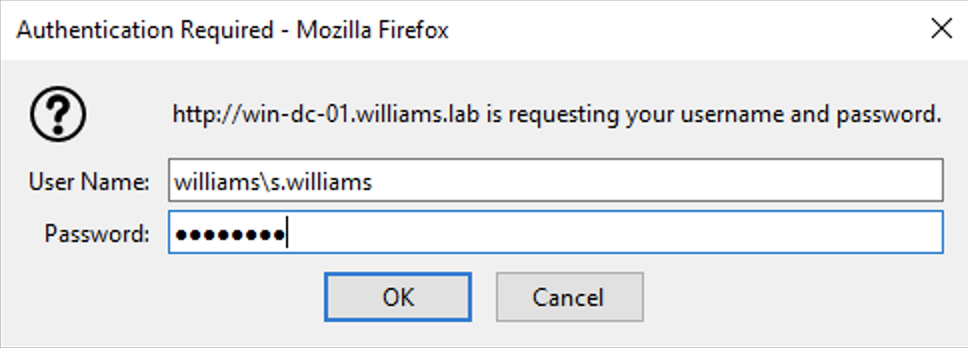
- Navigate to your CA’s certificate enrollment page. Mine is the CA address followed by /certsrv i.e http://win-dc-01.williams.lab/certsrv.

- Login using credentials with privileges to submit a certificate request
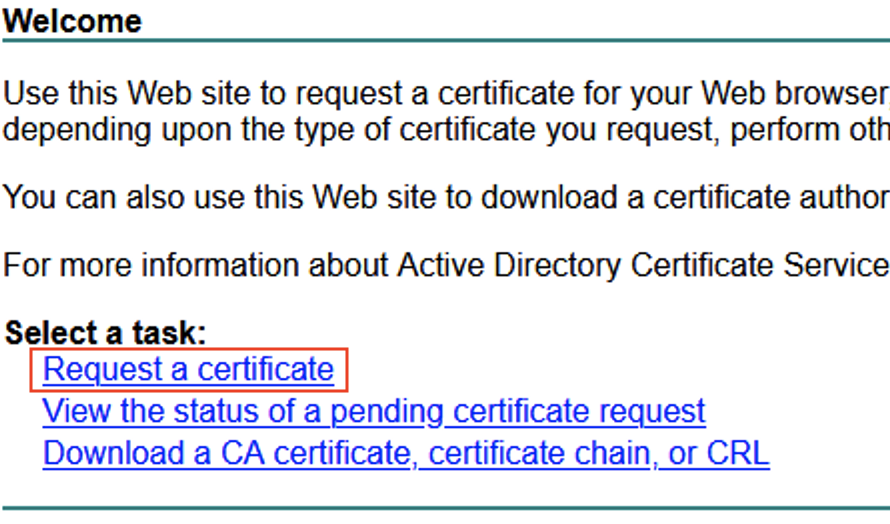
- On the “Welcome” page, click Request a certificate
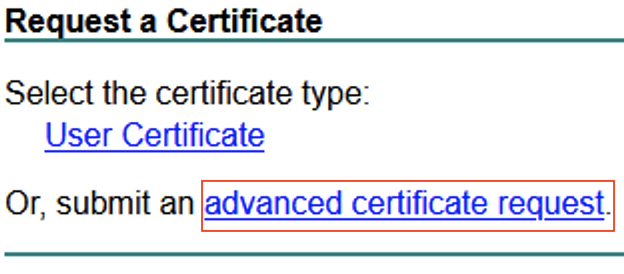
- Click advanced certificate request
- We need to extract the certificate request from the PEM file generated in vRSLCM
- Open the PEM file and copy the text from —–BEGIN CERTIFICATE REQUEST—– to —–END CERTIFICATE REQUEST—–. Make sure you include these markers in your selection.
- In the Base-64-encoded certificate request text box in your browser, paste the certificate request data you copied from the PEM file.
- From the Certificate Template dropdown, select your VMware SSL template (#pre-requisites if you don’t see it)
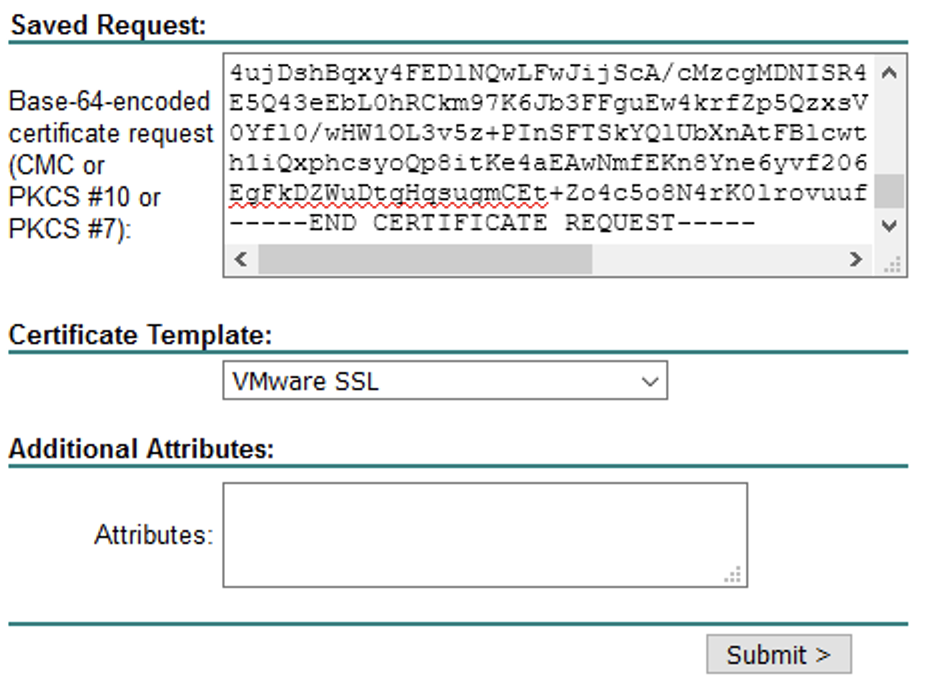
- Click Submit
- If your certificate template is configured for automatic approval (mine is), then you’ll be taken straight to the “Certificate Issued” page where you can download the certificate and optionally, the certificate chain. Otherwise, your certificate administrator has to approve the request.
- Select Base 64 encoded and click the Download certificate link
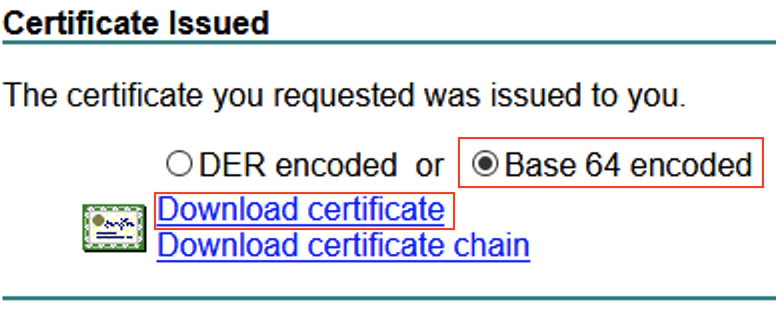
- A certnew.cer file is downloaded.
- If you don’t have the root certificate for your Certificate Authority handily available, go ahead and click Download certificate chain to download a p7b format certificate chain.
Prepare the certificate
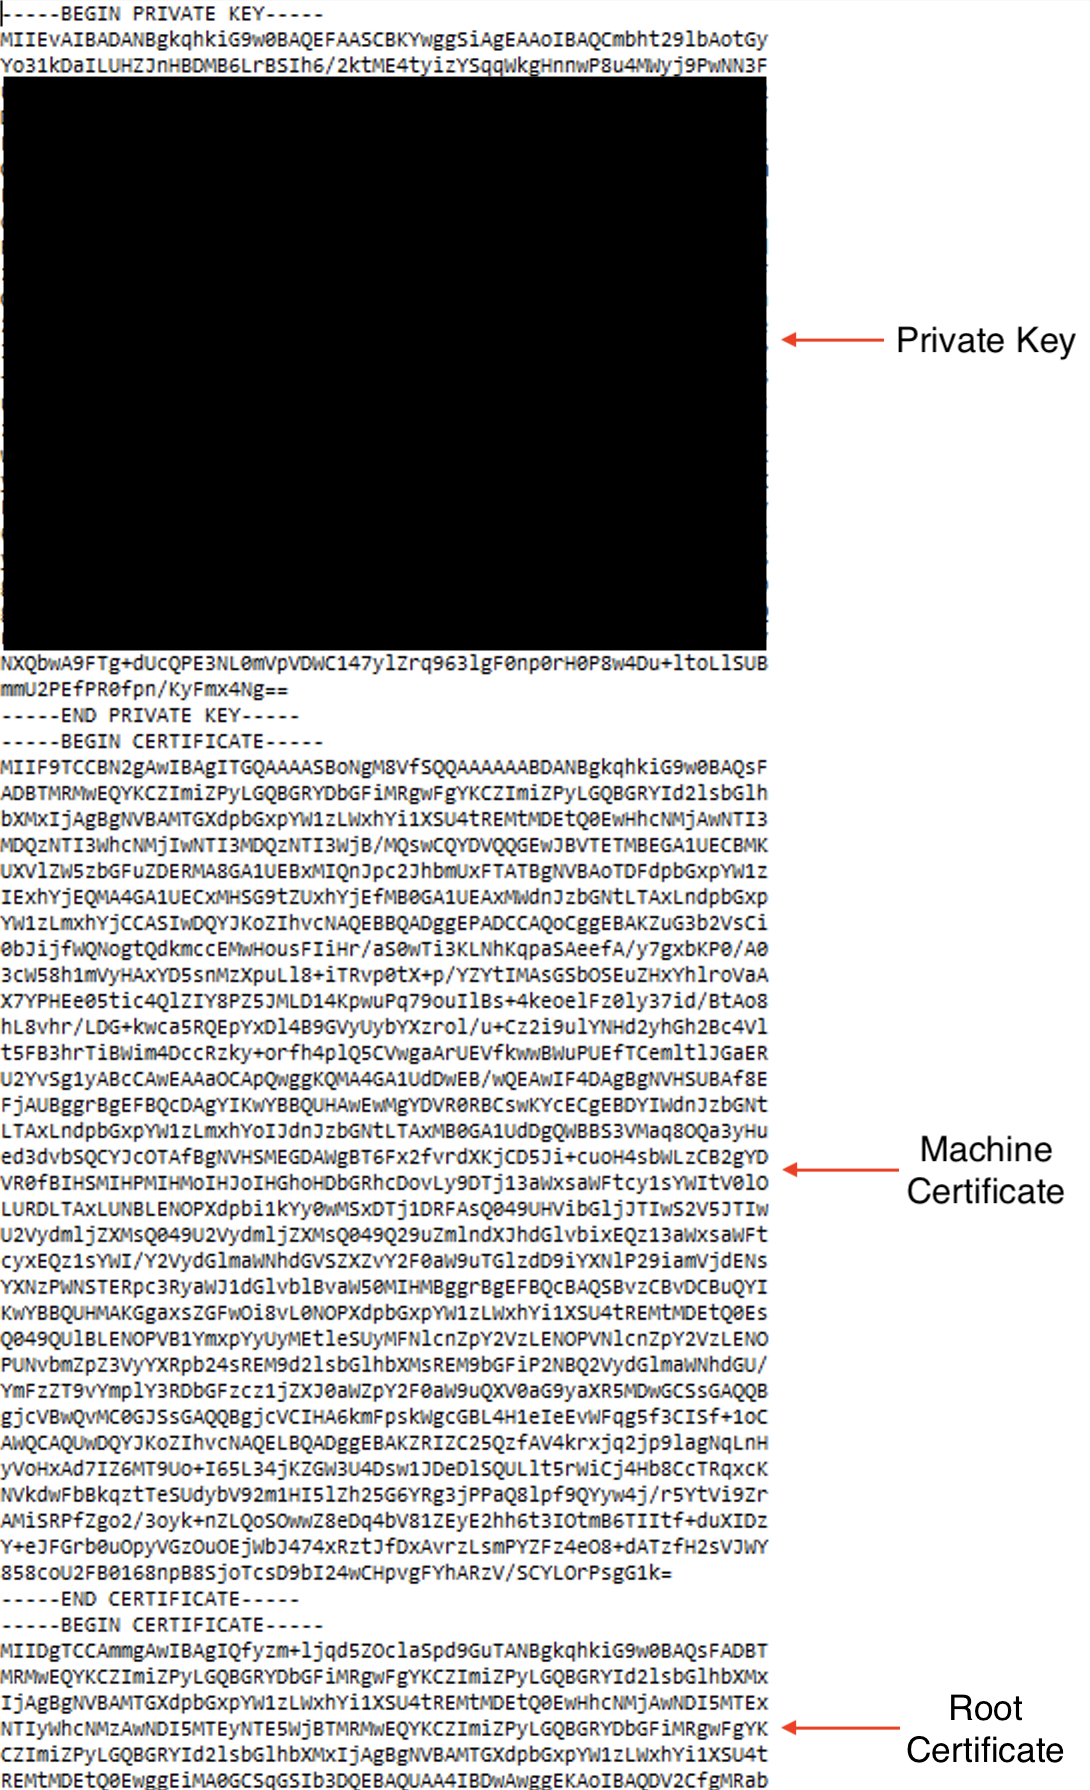
With the certificate requested, approved, and downloaded, we can now join the private key generated from vRSLCM with the contents of the certificate file along with the root certificate from the CA. The order for the certificate in the new PEM file is below. The encoding for all certificates needs to be Base64:
- Private Key - sourced from the PEM file downloaded from vRSLCM.
- Machine Certificate - this is the certnew.crt Base-64-encoded file downloaded from the CA.
- Intermediate CA certificates - if you have any intermediate certificates in your environment, they belong here.
- Root Certificate - the root certificate of the CA. If you don’t already have it, it’ll be in the certnew.p7b file you downloaded from the CA.
Let’s put all of this together. I’m assuming you’re using Windows to craft these certificates.
- Extract the root certificate
- Open the P7B file.
- Expand the folders on the left and select the Certificates folder.
- On the right-hand side, you’ll see the machine certificate you generated for vRSLCM but also the root certificate.
- Right-click the root certificate in the details pane. Select All Tasks > Export.
- Click Next on the Welcome screen.
- Select Base-64 encoded x.509 (.CER) and click Next
- Place this certificate export somewhere memorable. Ideally, your Downloads directory, alongside your downloaded certificate files.
- Click Next.
- Click Finish.
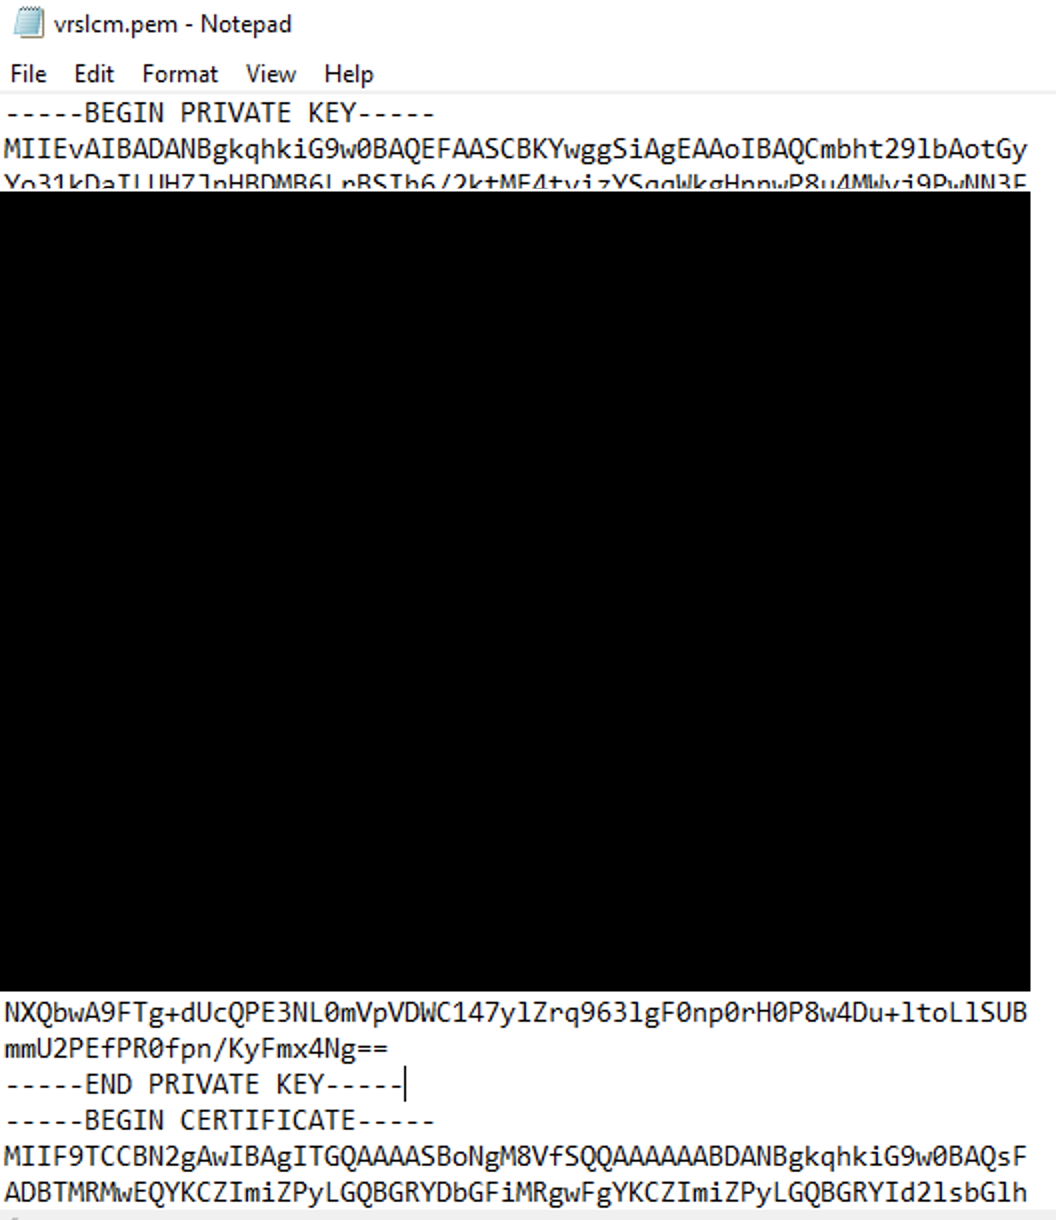
- Create a copy of the certnew.cer file and rename it to vrslcm.pem
- Open the new CSR PEM file downloaded from vRSLCM (using Notepad), and copy the entire —–BEGIN PRIVATE KEY—– section, including the section headers.
- Open the vrslcm.pem file (Notepad) and insert the copied private key text to the top of the file.
- Open the root certificate file (Notepad) and copy the contents.
- Paste the contents at the end of the vrslcm.pem file. Be sure you haven’t left any new lines or breaks in the file.
- You should have something similar to this:
Upload the certificate to vRealize Suite Lifecycle Manager
- Log into your vRealize Suite Lifecycle instance using the admin account (admin@local).
- Click the Locker tile
- On the Certificate page, click the Import button
- Enter the name of the certificate. I’m using the same name as the initial CSR.
- Leave Passphrase empty unless you have one configured.
- Click Browse and find the vrslcm.pem file you created in the previous section.
- The Private Key and Certificate Chain fields populate with the contents of the PEM file you selected.
- Click the Import button.
- If everything in the file is correct, vRSLCM advises the certificate was successfully added.

Change the active certificate in vRealize Suite Lifecycle Manager
- Log into your vRealize Suite Lifecycle instance using the admin account (admin@local).
- Click the Lifecycle Operations tile.
- Click Settings in the left-hand menu.
- Under System Administration, click the Change Certificate tile.
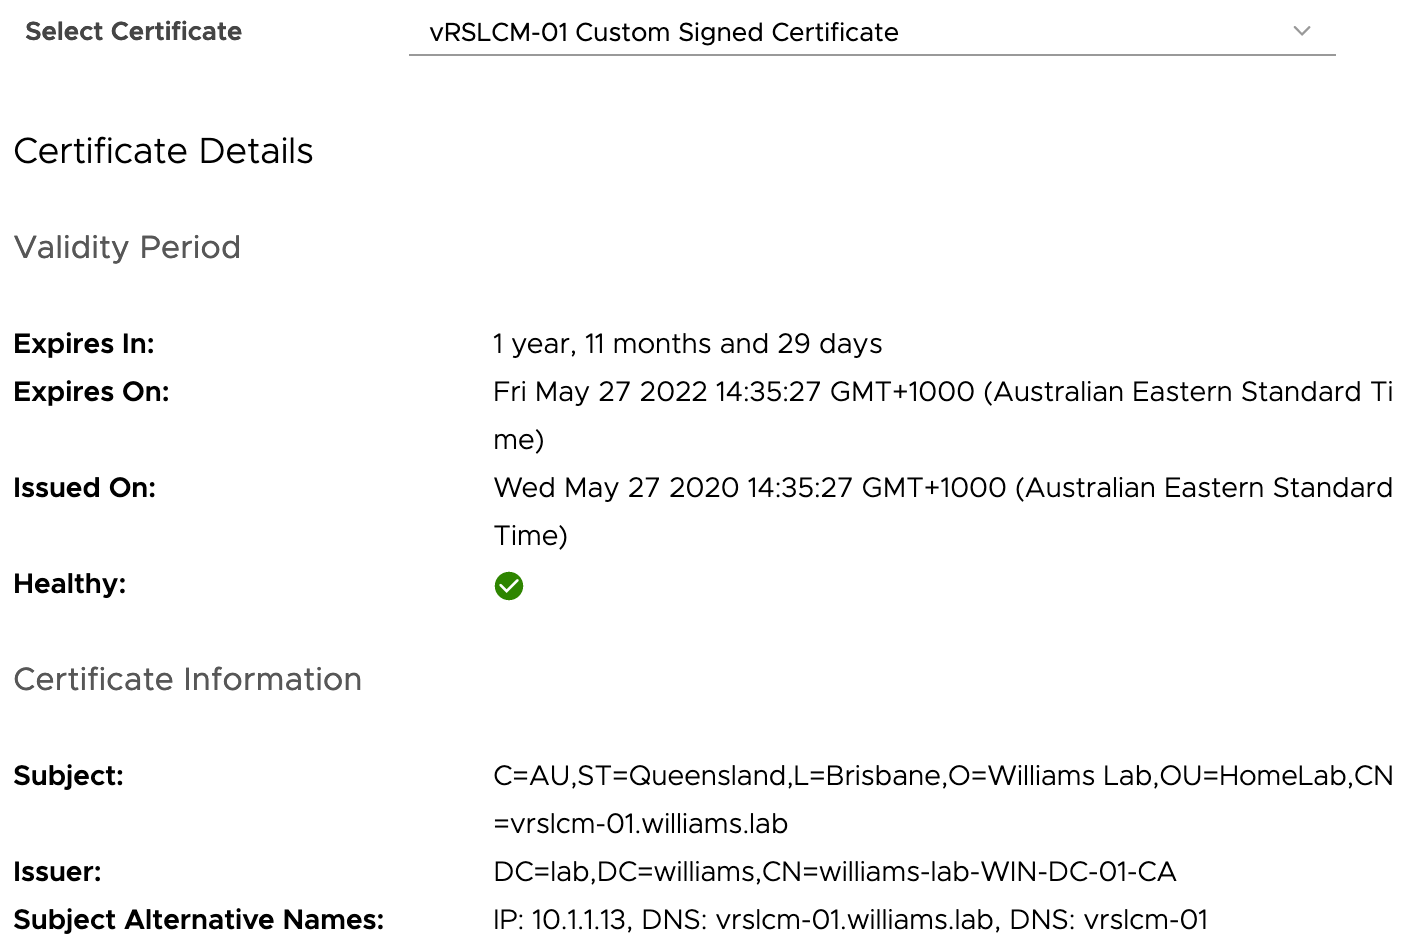
- Here you can view the details of the current certificate. Click the Replace Certificate button.
- The “Replace Certificate” wizard opens.
- Click Next on the Current Certificate page
- Select your new certificate from the drop-down
- Click Next
- Run the Precheck by clicking the Run Precheck button
- Click Finish
- You’ll be returned to the vRSLCM landing page. Force a refresh on your browser, and you’ll be presented with the new certificate
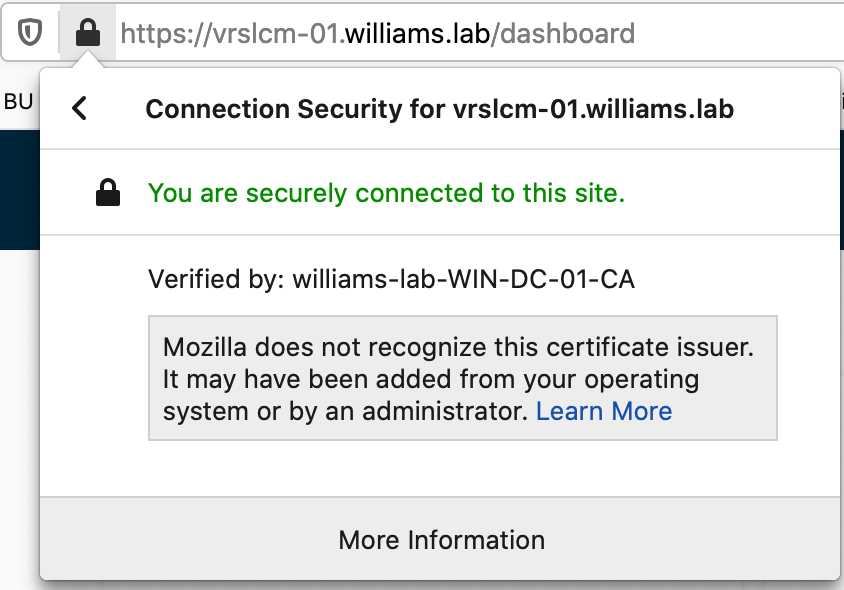
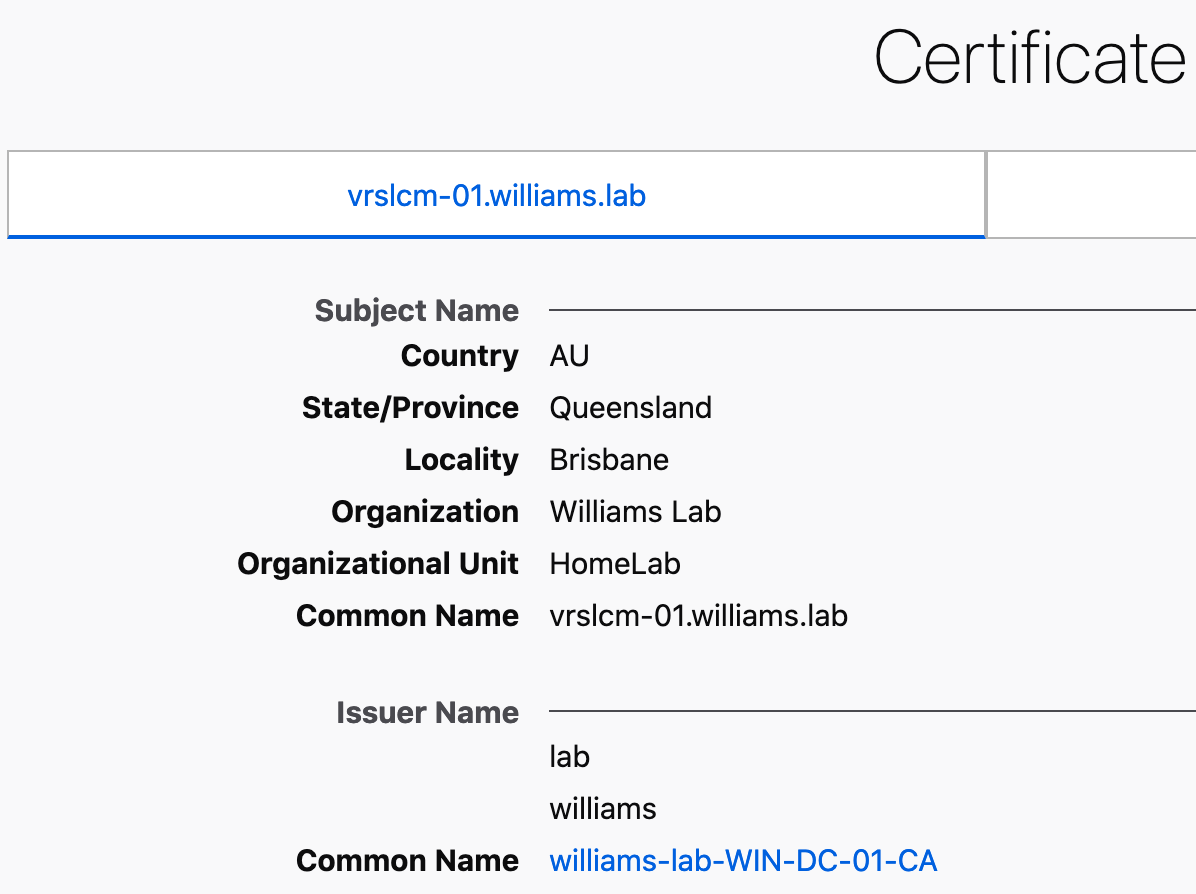
- The Root CA certificate must be trusted by your PC or browser to avoid certificate exception alerts.
That’s all there is to it. The certificate is now presented whenever administrators access vRSLCM. If you have any requests for new content or feedback for this post, please let me know in the comments.